
A true/false parameter in Tableau gives you three ways to show it: a dropdown, radio buttons, or a slider. None of them looks like the on/off toggle you know from every app on your phone.
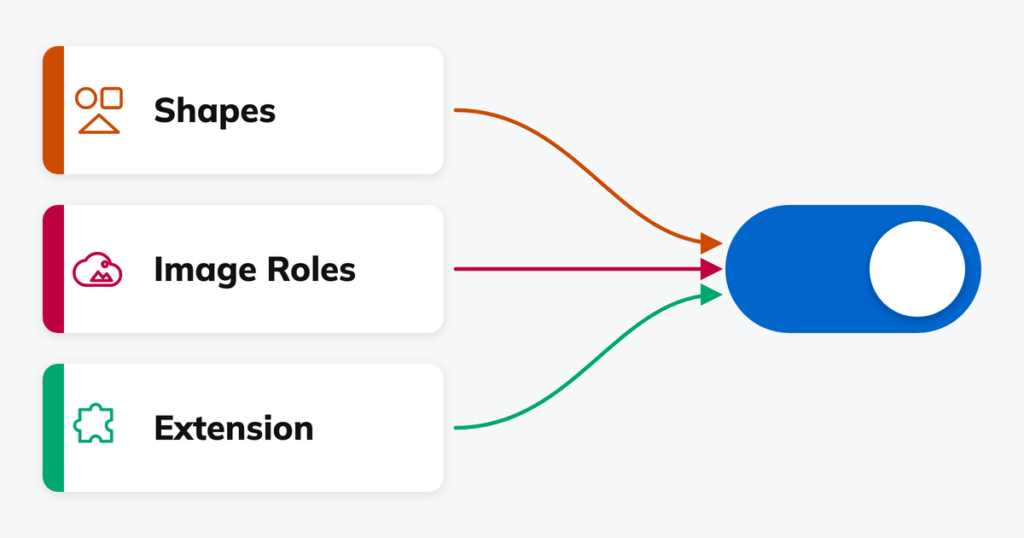
Tableau has no native toggle, but three workarounds will get you one: shapes, image roles, and a dashboard extension. In this post I look at all three, and at the pros and cons of each, so you can pick the right one.
Step 0 (for all): creating the parameter
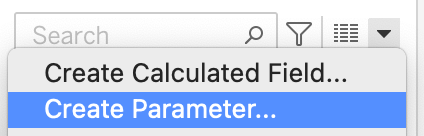
To create the parameter, use the menu on the top of the fields: Create Parameter…
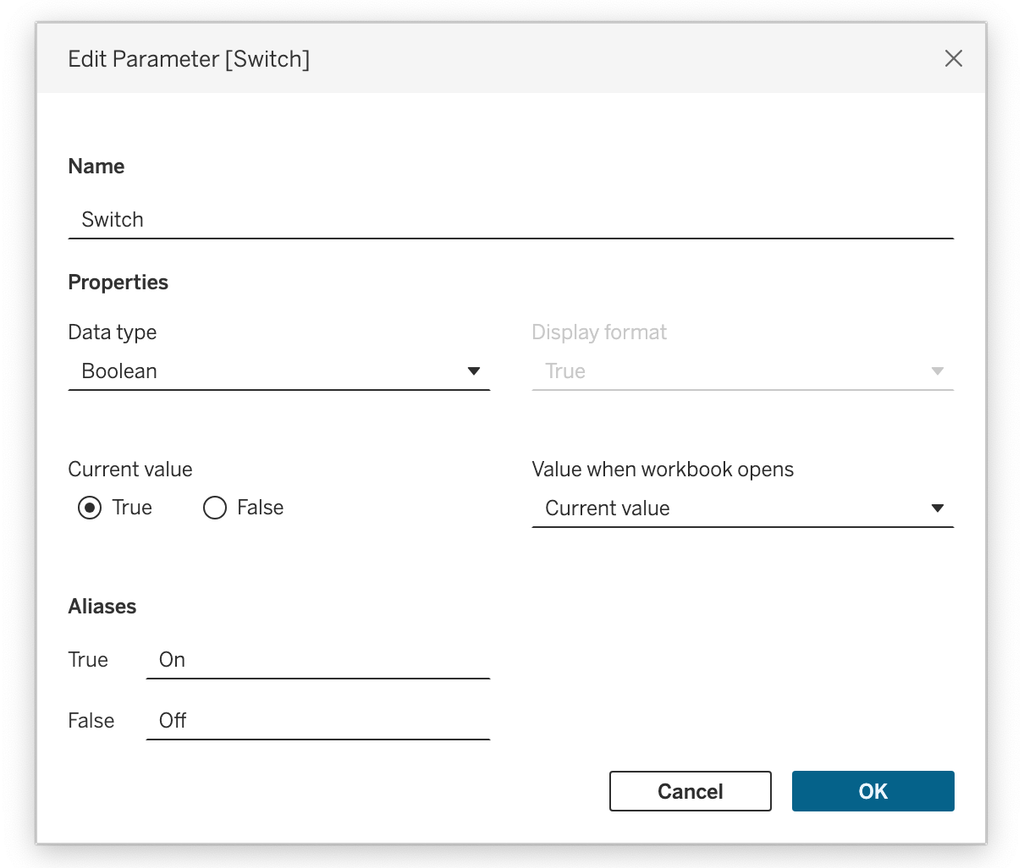
Configure the parameter to a Boolean (true/false), setting a sensible name (I will use Switch for this one) and – optional but recommended – change the aliases for true and false to whatever you want to show them on your dashboard – e.g. on/off.
The new parameter shows up on the bottom-left of Tableau Desktop
Formatting the Tableau Parameter
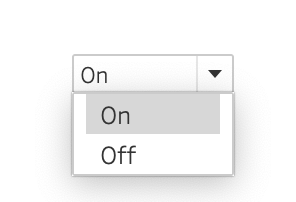
Every ‘fancy’ option still needs an underlying parameter. What are the formatting options of this? You can choose between a Compact List (drop down), Single Value List (options) and a Slider:
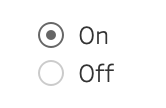
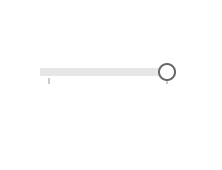
To mimic a toggle the Slider comes close – but it is very “skinny”, and users find it hard to recognize.
Pros & Cons
- Easy to create
- Works also on worksheets
- No dependencies on external or embedded images
- Ugly, often non-intuitive
The last one we want to fix – therefore we are looking for an alternative.
A better UI: the Toggle switch
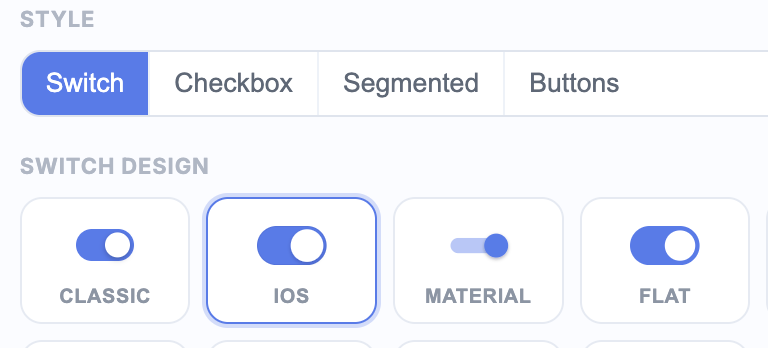
Instead of the default Tableau control you can use any other control you would like. For this I choose the toggle switch:


You can of course choose any option you like: checkboxes, segmented controls, buttons…
Option 1: Shapes
The oldest solution – and probably the most used one – is using two shapes-files as UX interface.
These are the – quite some – steps to take to make it really work without issues:
Instructions:
1. Add the images to your Tableau repository (see the Tableau Shapes tutorial for full instructions)
2. Create a calculation ‘[Switch T/F value]’ which represents the value of the parameter [Switch]
3. Create a calculation ‘[Switch T/F value inverse]’ which represents the inverse value of the parameter [Switch] (true if false, false if true)
![Tableau Calculation:
Name: Switch T/F Value
Value: [Switch]](https://antichaosdata.com/wp-content/uploads/2026/08/image-9.png)
![Tableau Calculation:
Name: Switch T/F Value inverse
Value: IF [Switch] THEN FALSE ELSE TRUE END](https://antichaosdata.com/wp-content/uploads/2026/08/image-10.png)
4. Add [Switch T/F value] to the shapes mark, and [Switch T/F value inverse] to the details mark
![Marks: [Switch T/F value] and [Switch T/F value inverse] on detail](https://antichaosdata.com/wp-content/uploads/2026/08/image-11.png)
5. Set the value of parameter [Switch] to TRUE, and assign the value of this shape to the ‘ON’ shape.
6. Change the value of parameter [Switch] to FALSE, and assign the value of this shape to the ‘OFF’ shape.
7. Create the dashboard parameter action: ‘When Selected, set the Parameter [Switch] to the value of [Switch T/F value inverse]’.
‘Clearing the selection will:’ must be set to Keep current value.
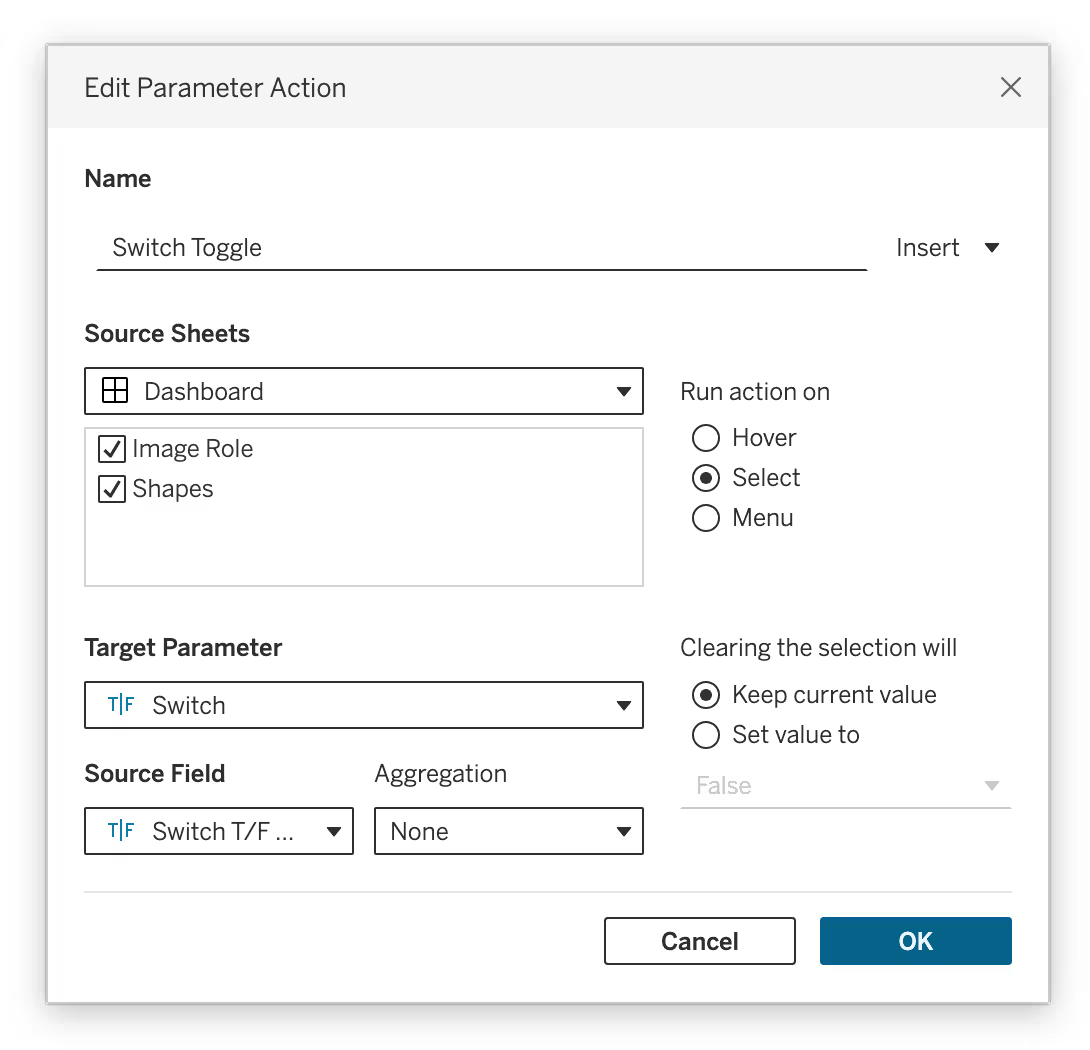
Using this action, the value of the boolean parameter is changed by the click on the shape. Finished – almost.

8. If you click on the shape, the image gets ‘selected’ – which draws an outline. Useful in a scatterplot, not nice on this button. We have to remove that – use the instructions on the ‘Disable Tableau Highlight – using filters‘ tutorial for that.
Pros & Cons of Shapes
- No dependencies – works even offline
- Renders in PDF/Image exports and subscriptions
- Images embedded in the workbook itself
- Can’t be authored on the web (no shape repository available)
- Lots of steps – harder to maintain
- Sizing is fiddly compared to the other two
Option 2: Image Roles
A different option is using the Image Roles functionality, using externally hosted images. It is a relatively quick build:
Instructions
1. Use the [Switch T/F value inverse] calculation as described in the Shapes option:
and put on the ‘detail’ shelf.
2. Find the URLs of the images you want to use for the on and off states, and put them in a calculation [Checkbox URL]. I have created two myself and hosted them for everyone to use:
if [Switch]
THEN
"https://assets.byantichaos.com/icons/ui/toggle-buttons/png/256/toggle-outline-on-blue.png"
ELSE
"https://assets.byantichaos.com/icons/ui/toggle-buttons/png/256/toggle-outline-off-blue.png"
END
Explanation:
if the value of parameter [Switch] is TRUE, use the ‘on’ URL, otherwise use the ‘off’ URL.
3. Set the Image Role of the new [Checkbox URL] to ‘URL’
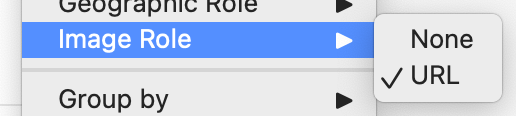
4. Set the mark-type to ‘Polygon’ to remove the ‘Abc’ value to the right
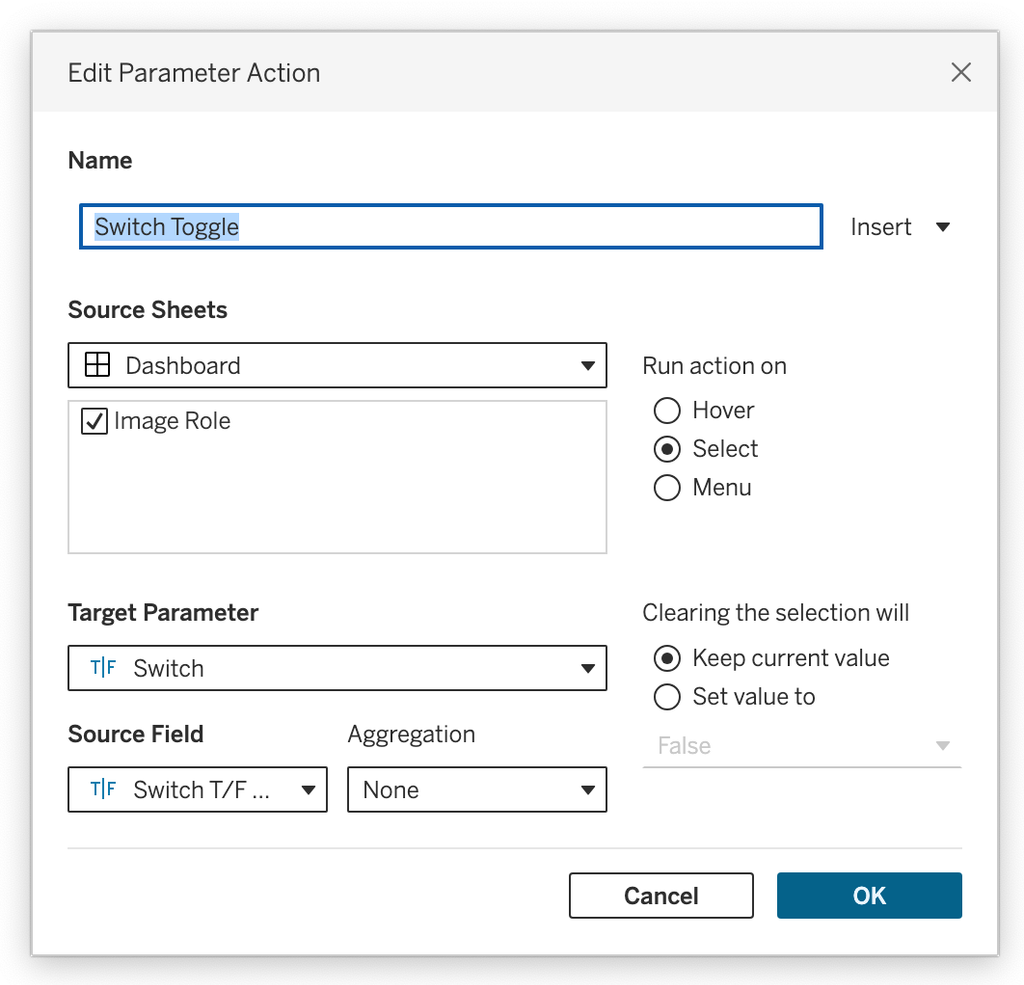
5. Create the dashboard parameter action:
(identical to the ‘Shapes’ action)
‘When Selected, set the Parameter [Switch] to the value of [Switch T/F value inverse].
Clearing the selection will:” must be set to Keep current value.
Pros & Cons of Image Roles
- Central restyling – swap the file at the url, and all dashboards are updated
- Renders in exports and subscriptions (with some exceptions)
- Fully authorable in the browser
- Images externally hosted (can be either good or bad in your situation)
- The URL is shown as tooltip (I consider this a Tableau bug)
- Hard constraints on how Tableau enforces image-role images, like file size and number of images on a sheet
- Some enterprises forbid outbound image fetches
Option 3: Dashboard Extension
This is the easiest and prettiest one – but with some serious caveats.
Instructions
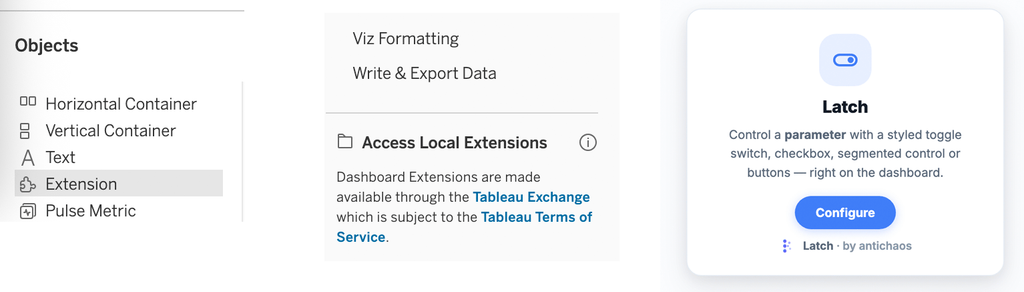
1. Choose the dashboard extension you want to use. Tableau has the ‘Single Checkbox Parameters‘ available, I created a more extensive one (also free) with a lot more options : Latch. Download the .trex file here
2. On a dashboard, drag an Extension object to the dashboard, and select ‘Access Local Extensions’ (left menu, below categories).
Click ‘Configure’.
3. Select the parameter you want to control (“Switch” in this example), and configure the look and feel – completely dependent on the extension you have chosen.
Pros & Cons of Extensions
- Real HTML control: hover cursor, keyboard focus, animation, accessible markup
- Very easy to implement without ‘highlight’ hacks
- Many configuration options – but only the ones the creator had in mind
- Blanks out in PDF exports, subscription emails etc
- Extensions need to be allowlisted to be used on Tableau Cloud or Server
- Depends on a third party’s reliability: abandoned extension = broken dashboard
Which one to choose?
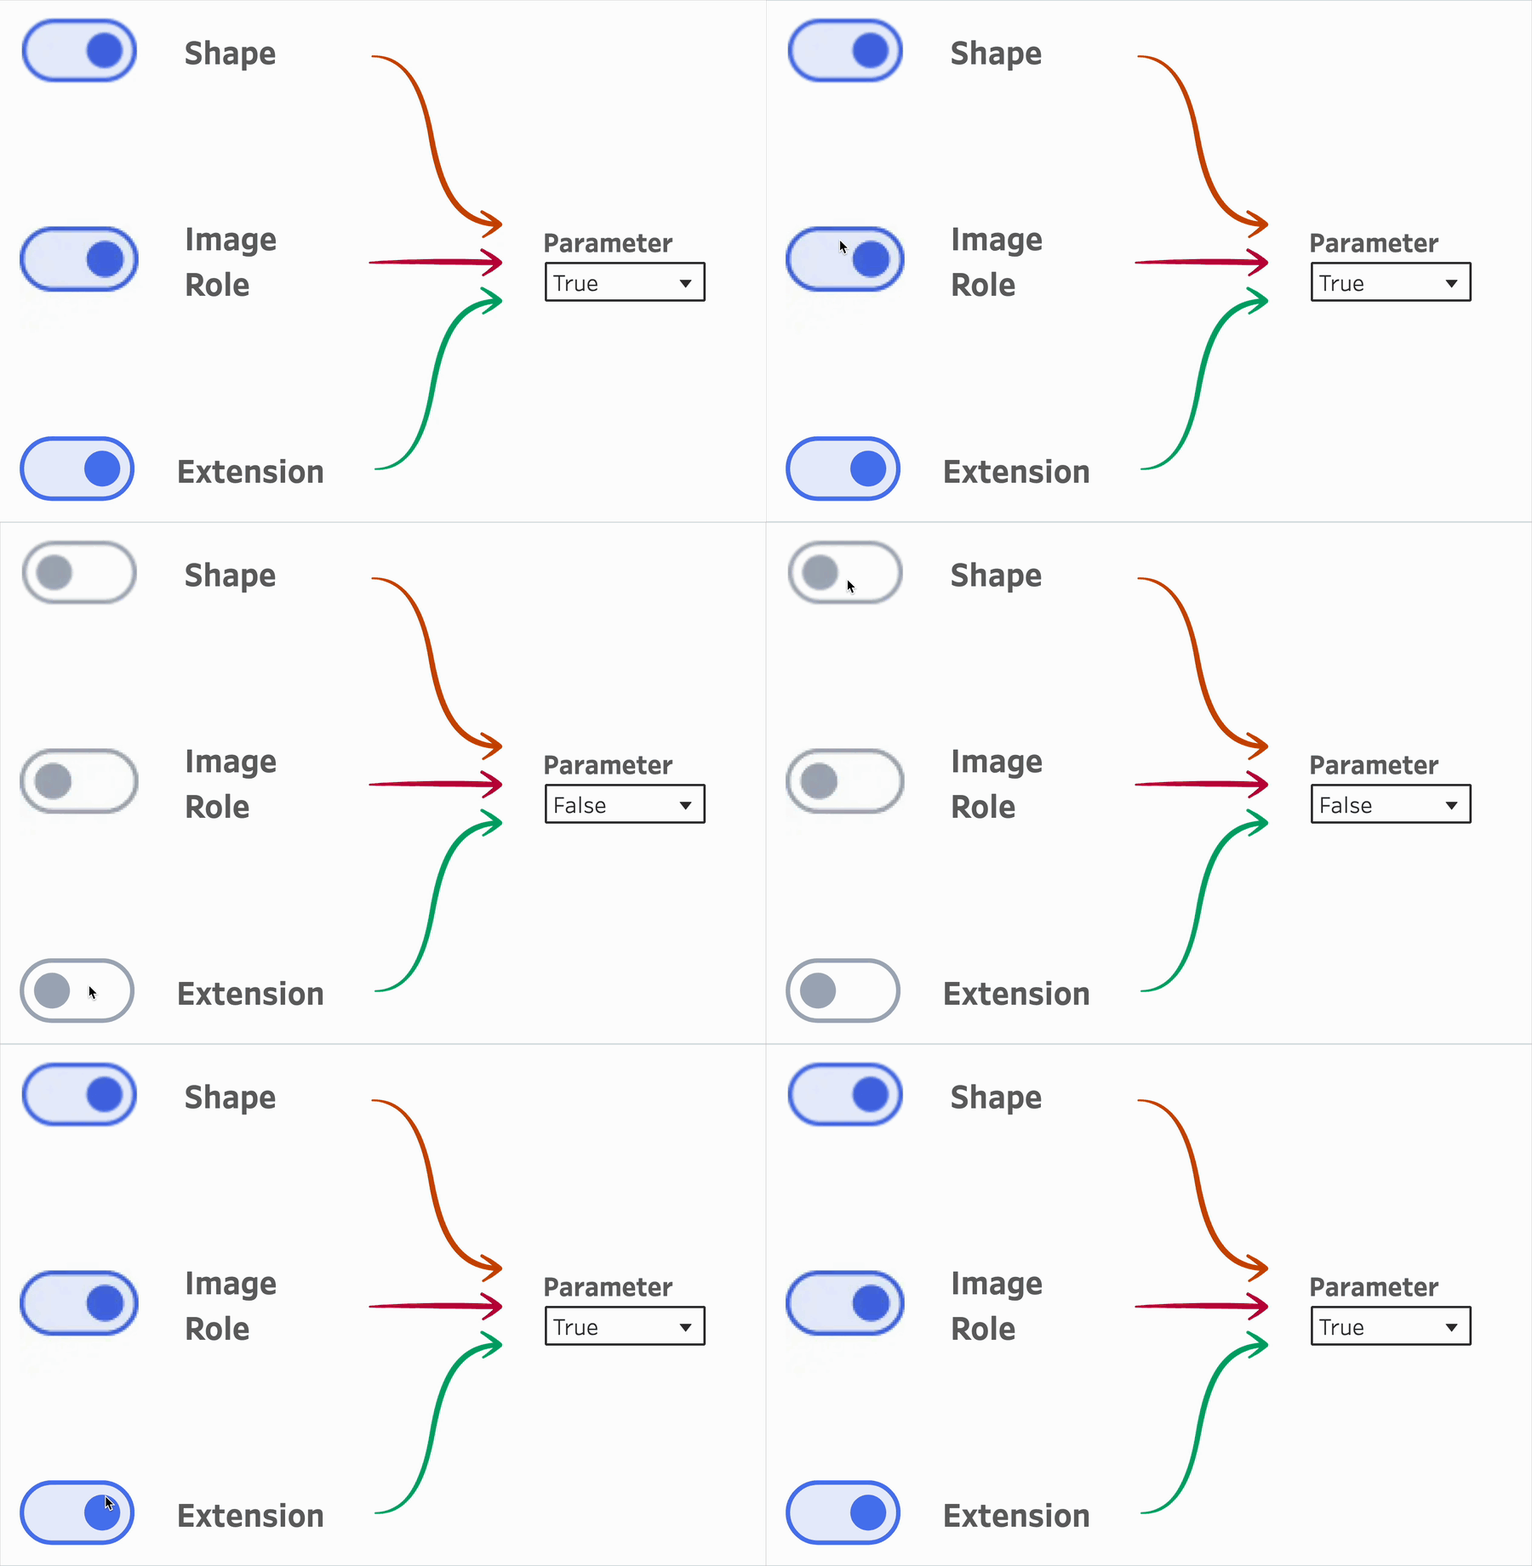
All three end up looking the same to your users – so the choice is entirely about what happens behind them. Every option has its upsides and downsides:
| Shapes | Image Roles | Extension | |
|---|---|---|---|
| Steps to build | 8 | 5 | 3 |
| Authoring in the browser | ✕ | ✓ | ✓ |
| Works offline / no outbound requests | ✓ | ✕ | ✕ |
| PDF exports & subscription emails | ✓ | ✓ (with exceptions) | ✕ |
| Restyle every dashboard at once | ✕ | ✓ | ✕ |
| Hover cursor, keyboard focus, animation | ✕ | ✕ | ✓ |
| Extra approval needed | none | outbound image fetches must be allowed | extension must be allowlisted |
| You depend on | nothing | your image host | the extension’s author |
Besides personal preference, answer these questions to choose the right one:
- Does anyone receive this as a PDF or subscription email?
> Rules out the extension. - Is the environment locked down, offline, or hostile to outbound requests?
>. Shapes. - Will people edit this in the browser, or do you need to restyle many dashboards at once?
> Image Roles. - Otherwise, and if you control the governance.
> Extension, because everything else about it is nicer.
Test it yourself!
I posted a sample workbook with all three options to Tableau Public – so you can live test the 3 options without building them yourself:
Due to the nature of Tableau Public, the used Latch extension can’t be published on Tableau Public due to restrictions – the extension can’t (yet) be used on Tableau Public.
But you can download the workbook with all 3 options and test it yourself. If you want to use this on your own Tableau Cloud or Server instance, don’t forget to allowlist the extension (ask your admin)
If you are using the new Latch extension: what do you think of it? Does it need changes, more options, a better interface? Let me know!